The Details Of Detailing
Posted by Cassy Leone on Jul 5th 2021

The Details of Detailing
by Cassy Leone
Have you ever wondered what it takes to get a classic car ready for a car show? How do these owners make their rides look like they just came off the showroom floor? For some, these cars are almost never driven, kept in private collections, and are trailered to the show in near perfect condition. I would argue that as nice as that is, not everyone has the ability to care for their car in that way. Some of us have a classic car that we keep as a weekend driver, to enjoy in our free time. Others drive their classic car each and every day. So, for folks that drive a classic Mercedes regularly, how do you keep it looking its best?
It’s been said that the easiest way to tell if a place has been occupied for a length of time, be it a house, a car, or anywhere else, is the accumulation of garbage. Dirt- the detritus of human living. When it comes time to bring your classic Mercedes out of hiding for the glorious Summer season, you’ll want to be ready. This is why I took it upon myself to learn the basics of detailing, and will now pass them on to you, dear reader.

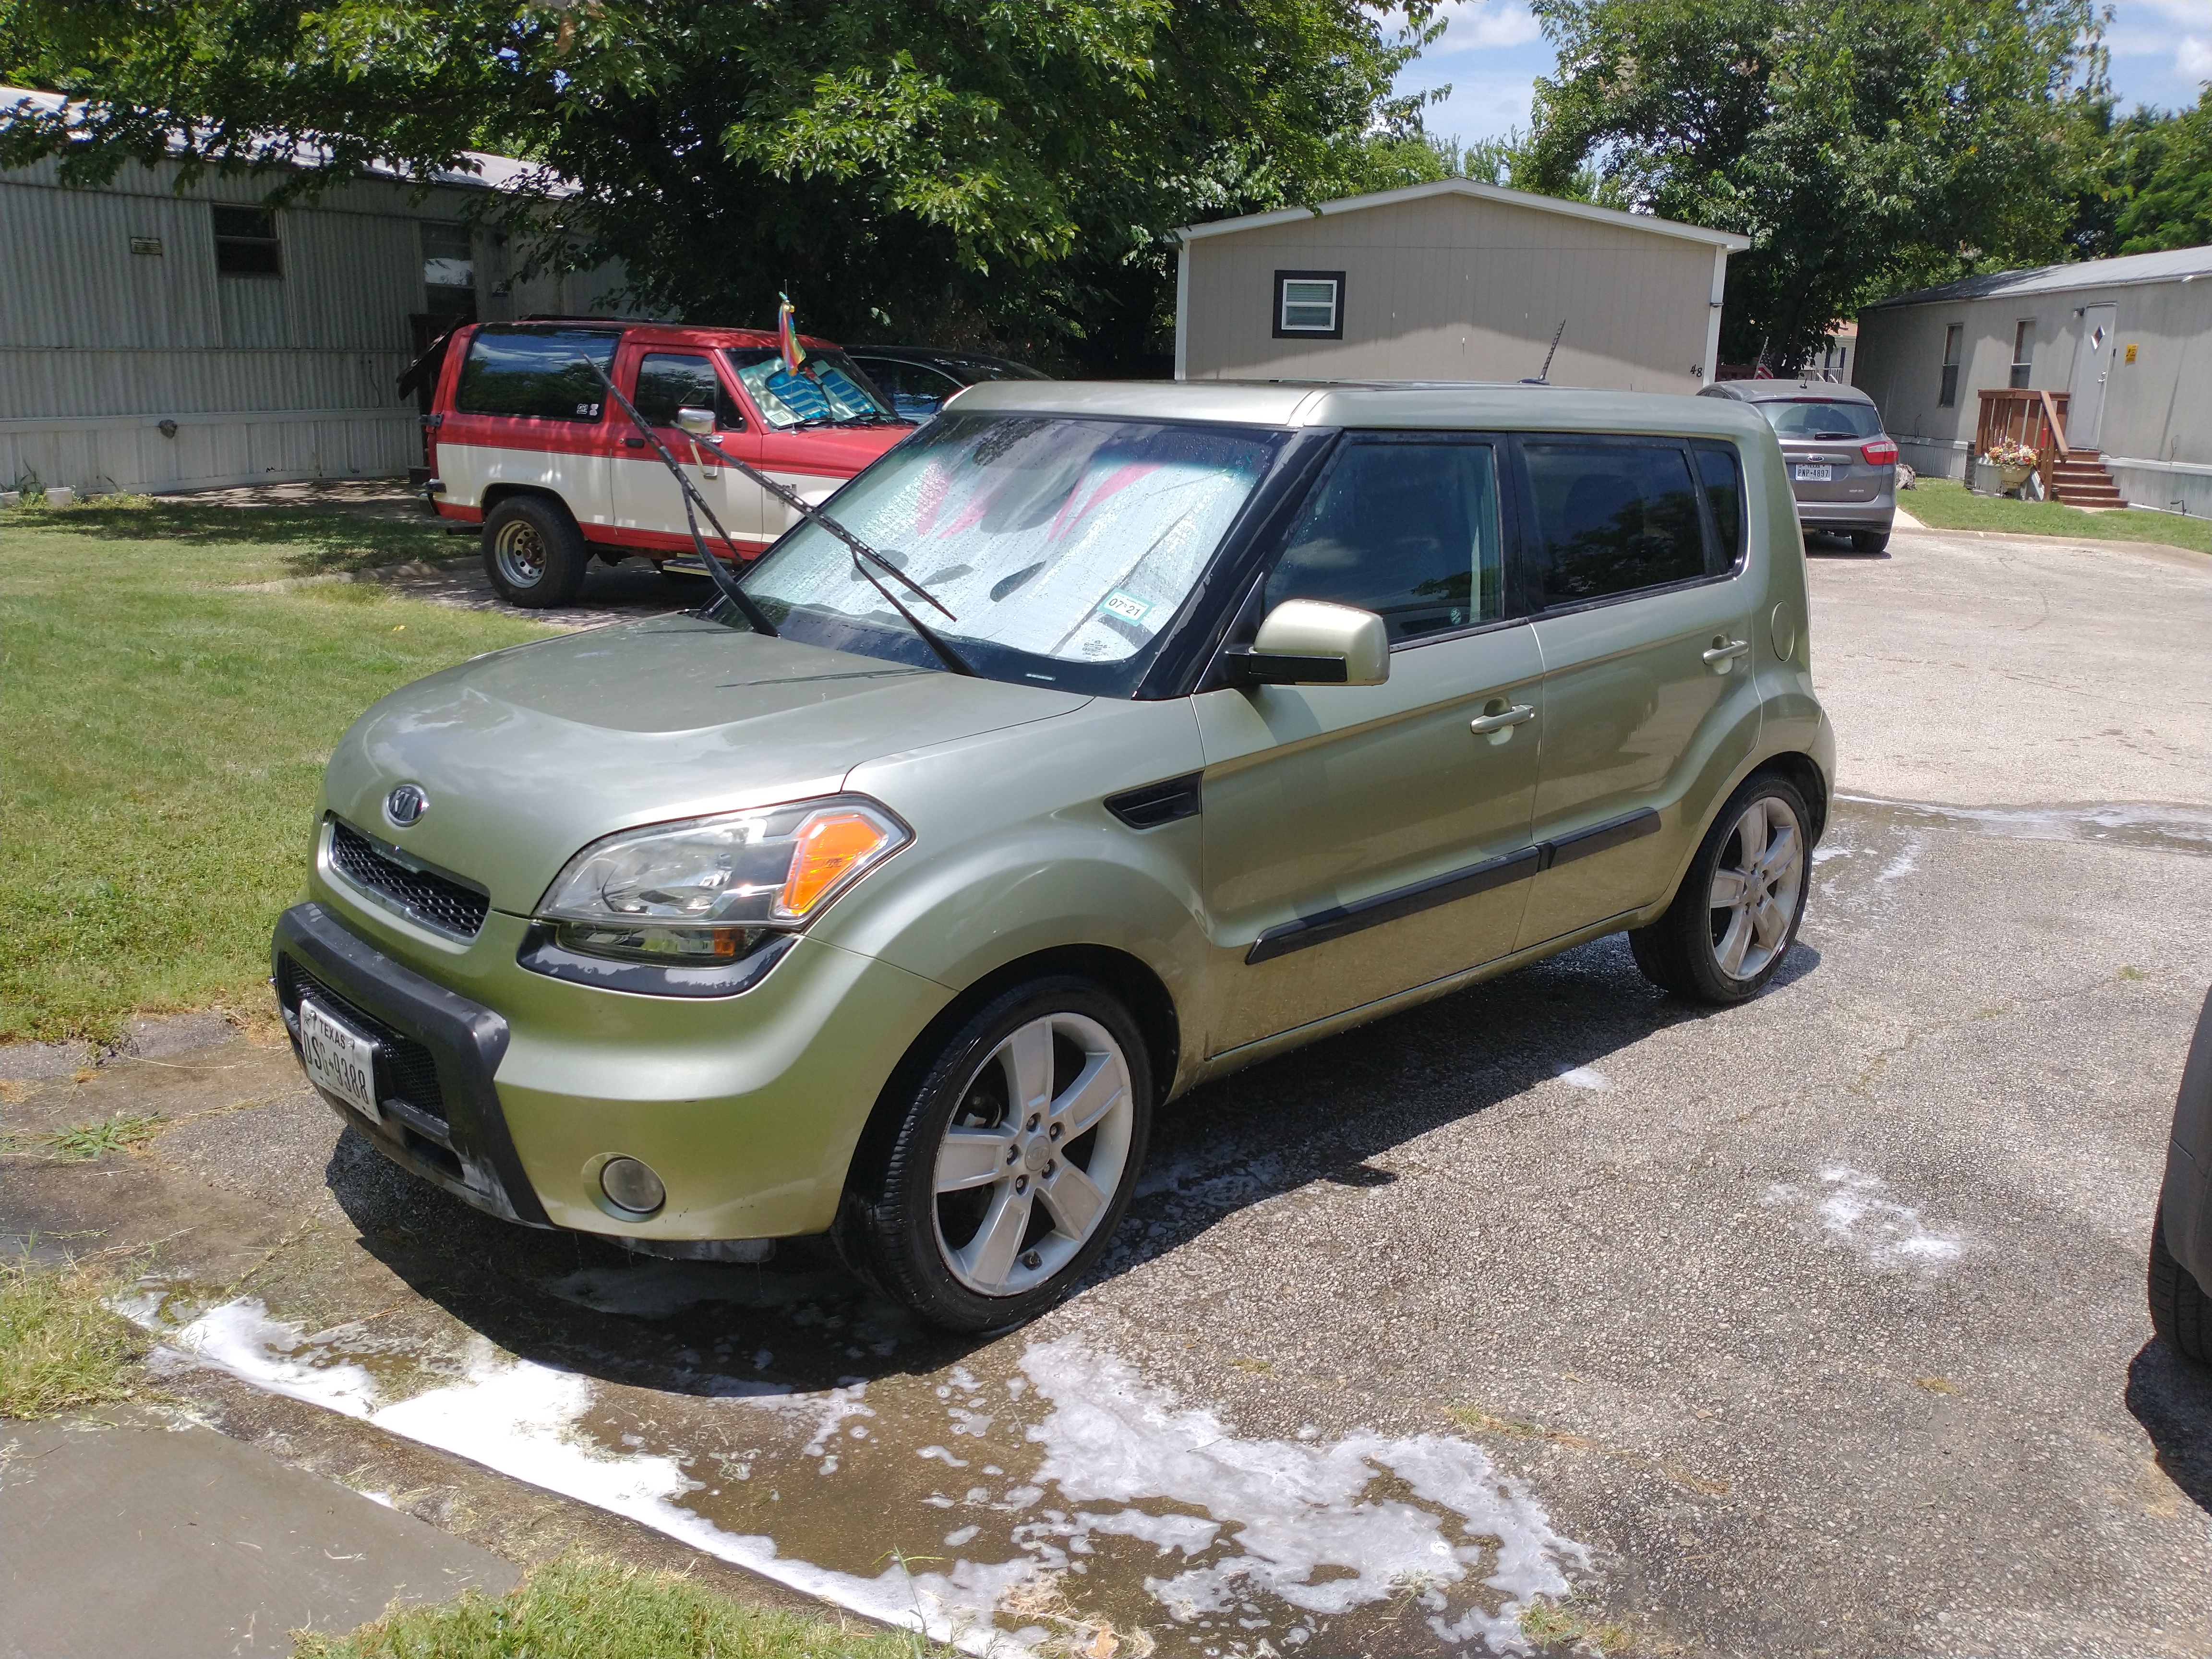
The first step for me was to find a car to detail and while the following is no classic Mercedes, it nonetheless was in desperate need of a wash. Enter... my roommate’s Kia. This poor Soul had been beaten into the tarmac by its current owner for the past few years, seeing little more than the occasional rain storm to act as an impromptu car wash, and to have the floorboards cleared out every few months. Hopefully your Mercedes is in better condition than this, but if it’s a recent acquisition, it might be in similar shape. So, let’s get into what you’ll need for a basic detail:
Step One: Buy Supplies
If you have access to a Shop Vac, that’s great. It can be used to pick up things like crumbs and dirt from carpeting, and also clear away any damp areas made by using cleaners on soft surfaces during the process of detailing the interior of your Mercedes. If you don’t have a Shop Vac on hand, you can do what I did and purchase a small one for around thirty dollars.
Find a quality shampoo that doesn’t include a waxing agent. You’ve got to consider what each part of that combination does. A shampoo’s job is to lift and remove dirt from a surface,while the job of wax is to create a coating on said surface. If a shampoo claims to have both in one bottle, neither the shampoo or wax is bringing their A game. Many shampoos you’ll find on your local automotive store shelf will be of this All-In-One sort. Consider a dedicated shampoo like Meguiar's Gold Class. I found a bottle for seven dollars and it was a great deal.
Getting out old stains from carpeting and other upholstery will require use of a degreaser. Something like Simple Green, or the bottle of Super Clean Purple that I used will do just fine. Chances are, you will use very little, and it is a useful cleaner to keep around the house. The bottle was around five dollars.
You’ll need several microfiber towels and a mitt. You can also use sheepskin for the latter if you so choose. The goal is to use a very soft material to wipe with in order to avoid scratching your paint. Lucky for me, I owned several towels but needed to pick up a mitt. I dropped five dollars on one and was on my way. I should've spent a bit a more in hindsight because the hand strap broke halfway through the wash and I had to use it like a regular sponge the rest of the time. My outlay for all this was about fifty dollars with a single trip to the automotive section of my local superstore.
In addition to the items above which I personally needed to purchase, you should make sure you have a hose and nozzle attachment (those with access to a pressure washer, read on), two buckets, a bottle of vinyl rubber and leather cleaner, a bottle of tire shine, a stiff bristled brush (or new toothbrush), and a bottle of quick detail spray.


Preparation:
Now that you have everything you need, you can prep the car for detailing. Make sure you give yourself plenty of space to work, with room enough to open all doors and cargo hatches without obstruction. Roll down all the windows, and remove your floor mats, laying them aside for now.
Get to cleaning!

Alright, you and your car are ready to take the plunge. Start by clearing away any and all trash and personal effects from the car. Throw the garbage out and put the items you intend to keep in a safe place. Use your Shop Vac to suck up any debris, and use your brush to loosen up any stubborn dirt left over. You’d be amazed at how much better your carpets look after this, and if you’re anything like me, be shocked at the amount of dirt a single foot well can accumulate after years of being driven, day in, day out. After you are done with the Shop Vac, see if there are any more areas that need attention, like stains. Use a tiny amount of degreaser (half a trigger pump was perfect I found) on these spots and carefully scrub them with your toothbrush. They should come right out! Use your vacuum one more time and repeat this process for each foot well. Don’t forget the center console area carpets.

Next, move on to the floor mats. Beat out the dirt by banging them against something sturdy. The stop sign at the end of my road proved great at removing huge clouds of dirt from the mats, and gaining yours truly some strange looks from her neighbors in the process. After you are done, vacuum them. If you have access to a pressure washer, you can spray degreaser on your mats and wash it away using long sweeping motions going in the same direction each time. Vacuum the remaining water out with your Shop Vac and hang your mats in a sunny place to dry while you work on the rest of the car. Using the same technique as for the foot wells, cleaning out your trunk or cargo area.
Now move onto clearing debris from the weather stripping around this area as well as ones for the doors. Use a small amount of degreaser and wipe down these areas with a microfiber towel. Head back inside and check out your headliner. I was lucky that the one I was cleaning was fine, odd given how the rest of the car looked at the time. However, if you need to clean it, start by gently rubbing any stains with a dry microfiber towel to pick them up. If that doesn’t quite do it, use a clean toothbrush. Lastly, if all else fails, use a small amount of degreaser with the toothbrush and that should do it. Remember to dry it with your towel if resorting to this so your classic Mercedes doesn’t end up with residue.

Lastly, spray your vinyl, rubber, and leather cleaner onto any hard surfaces, using your towel to spread it around, then carefully buff with the short side. If you wish, you may use your toothbrush to remove dust from the air vents. Finally, after all that, your interior should look like new!
Cleaning The Exterior
Roll up your windows, close all doors, and lay your floor mats down (if dry). Spray some degreaser on your wheels. If you have a pressure washer, go ahead and rinse off your car, taking your time to remove road grime. Don’t get too close as you don’t want to remove any clear coat, or even worse, some paint!

If you’re doing it the old fashioned way, then you’ll use your garden hose to rinse the car in the same manner. Next, get your two buckets. Fill one with shampoo and water, and the other with just clean water. Illustrated above, you’ll see a blue bucket I found on my porch and a bucket that used to hold No Brand cookies filling these roles quite well.

Put on your microfiber or sheepskin mitt, and dunk it in the bucket of shampoo. Wash the car from top to bottom, cleaning each panel in the direction that air would flow over it if the car were in motion. Take time to rinse off each panel as you go. When you need to replenish your mitt, dunk it in the clean water bucket first to knock loose any grit it picked up along the way to avoid scratching up your paint. Change water in the bucket as needed. I ended up changing it with each panel because my bucket was so small, but hey, it worked.
Use your soap bucket and mitt to clean your wheels, rinsing each off as you go.

Dry your windows first, then the rest of your car, drying it in the same manner it was cleaned, by moving your microfiber towel in the same direction that air would flow across each panel.

Mist each panel with detail spray, wiping it off with long sweeping motions, then finish up with buffing motions to give your car a nice shine.

Lastly, use some tire shine on each of your tires, taking care to wipe off any excess.

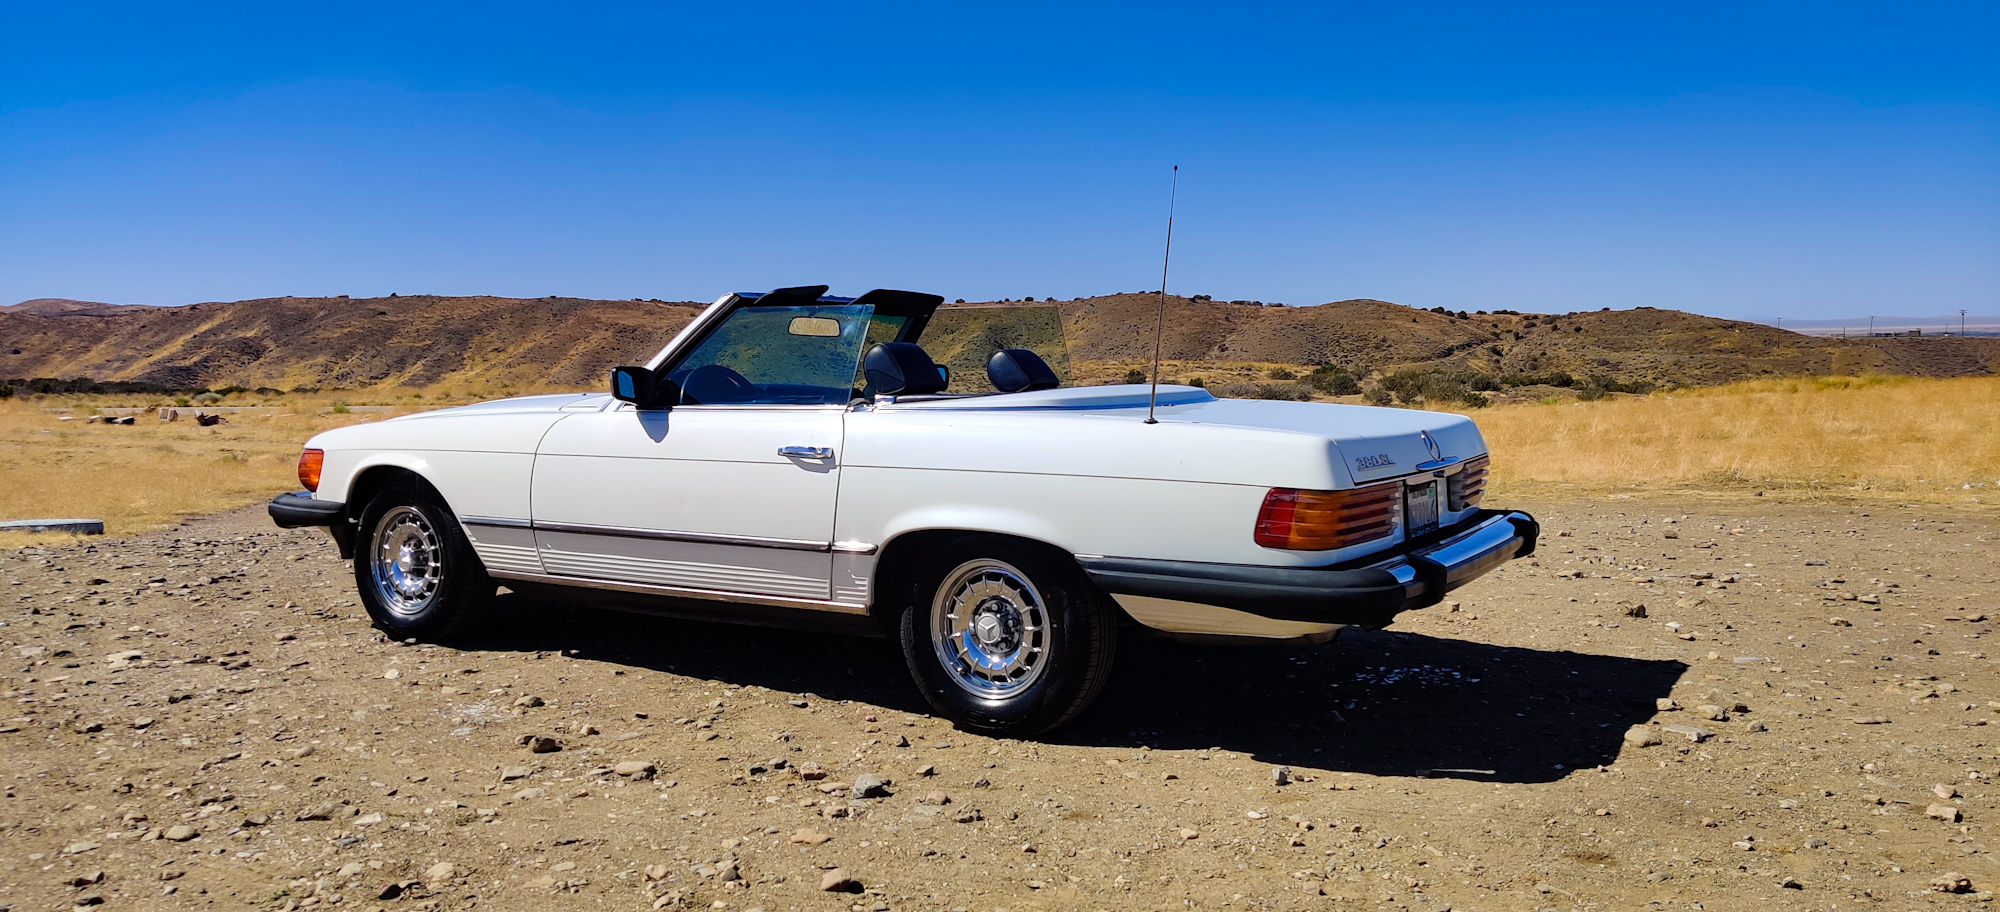
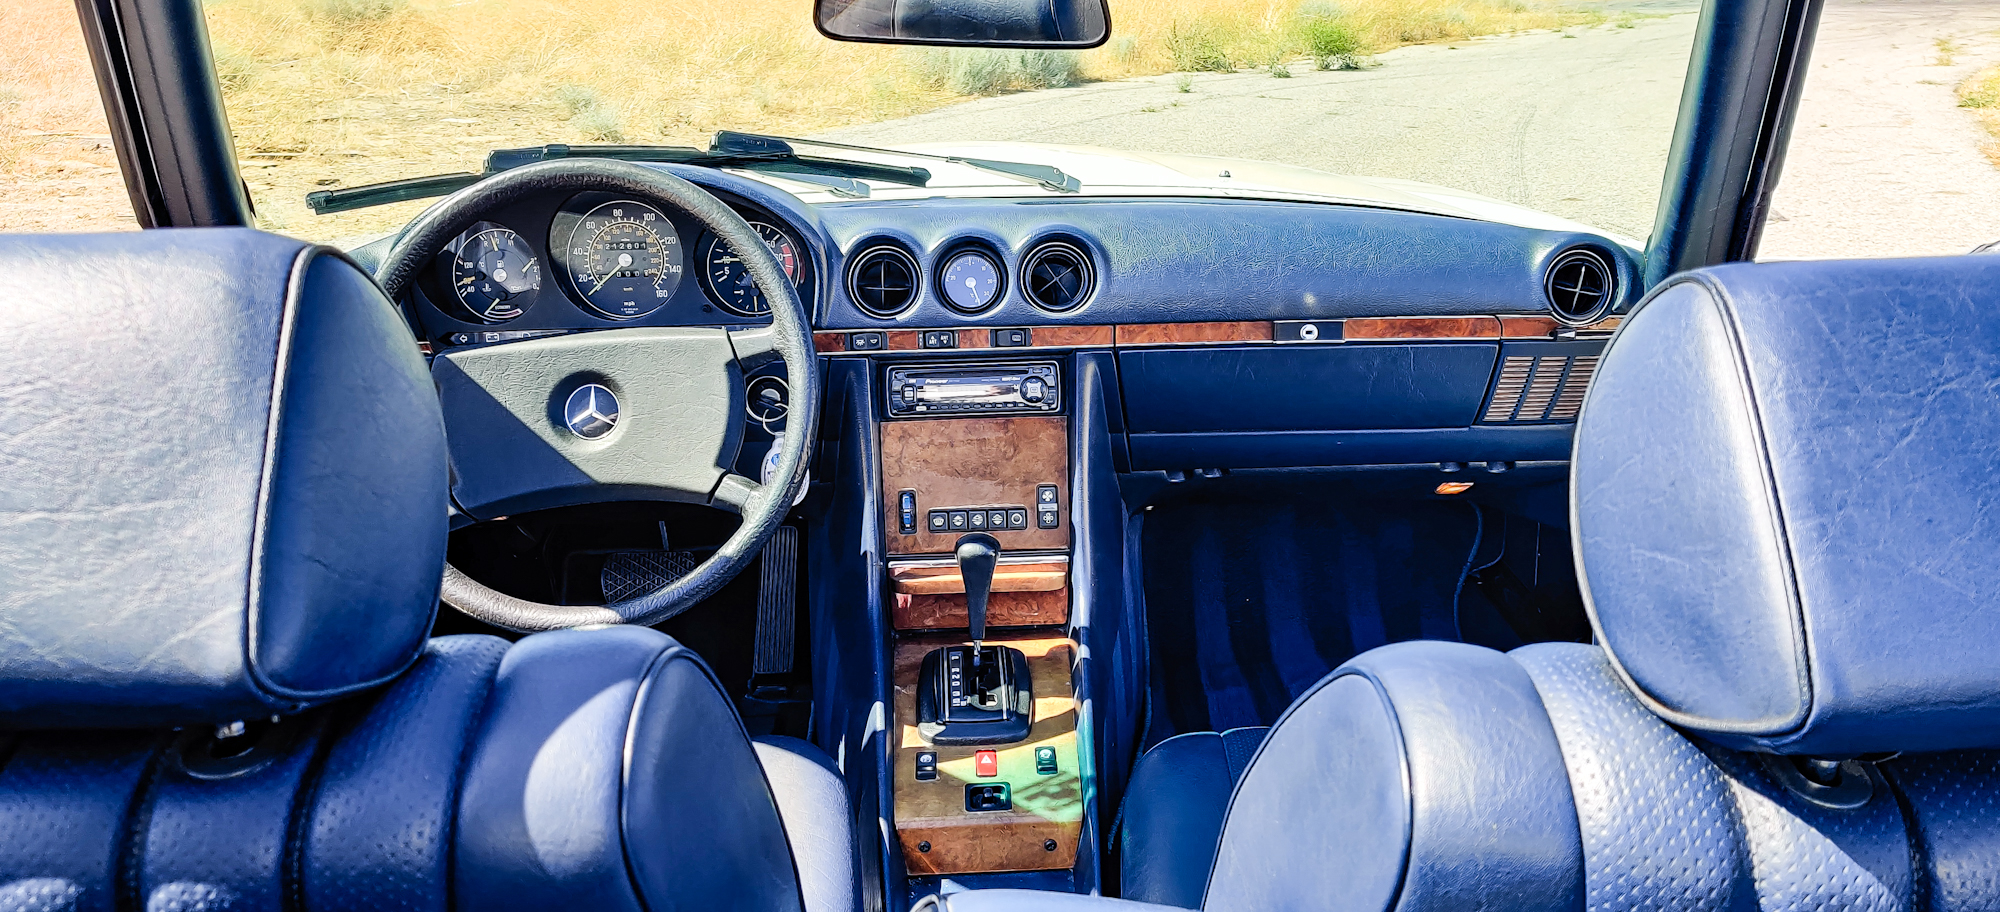
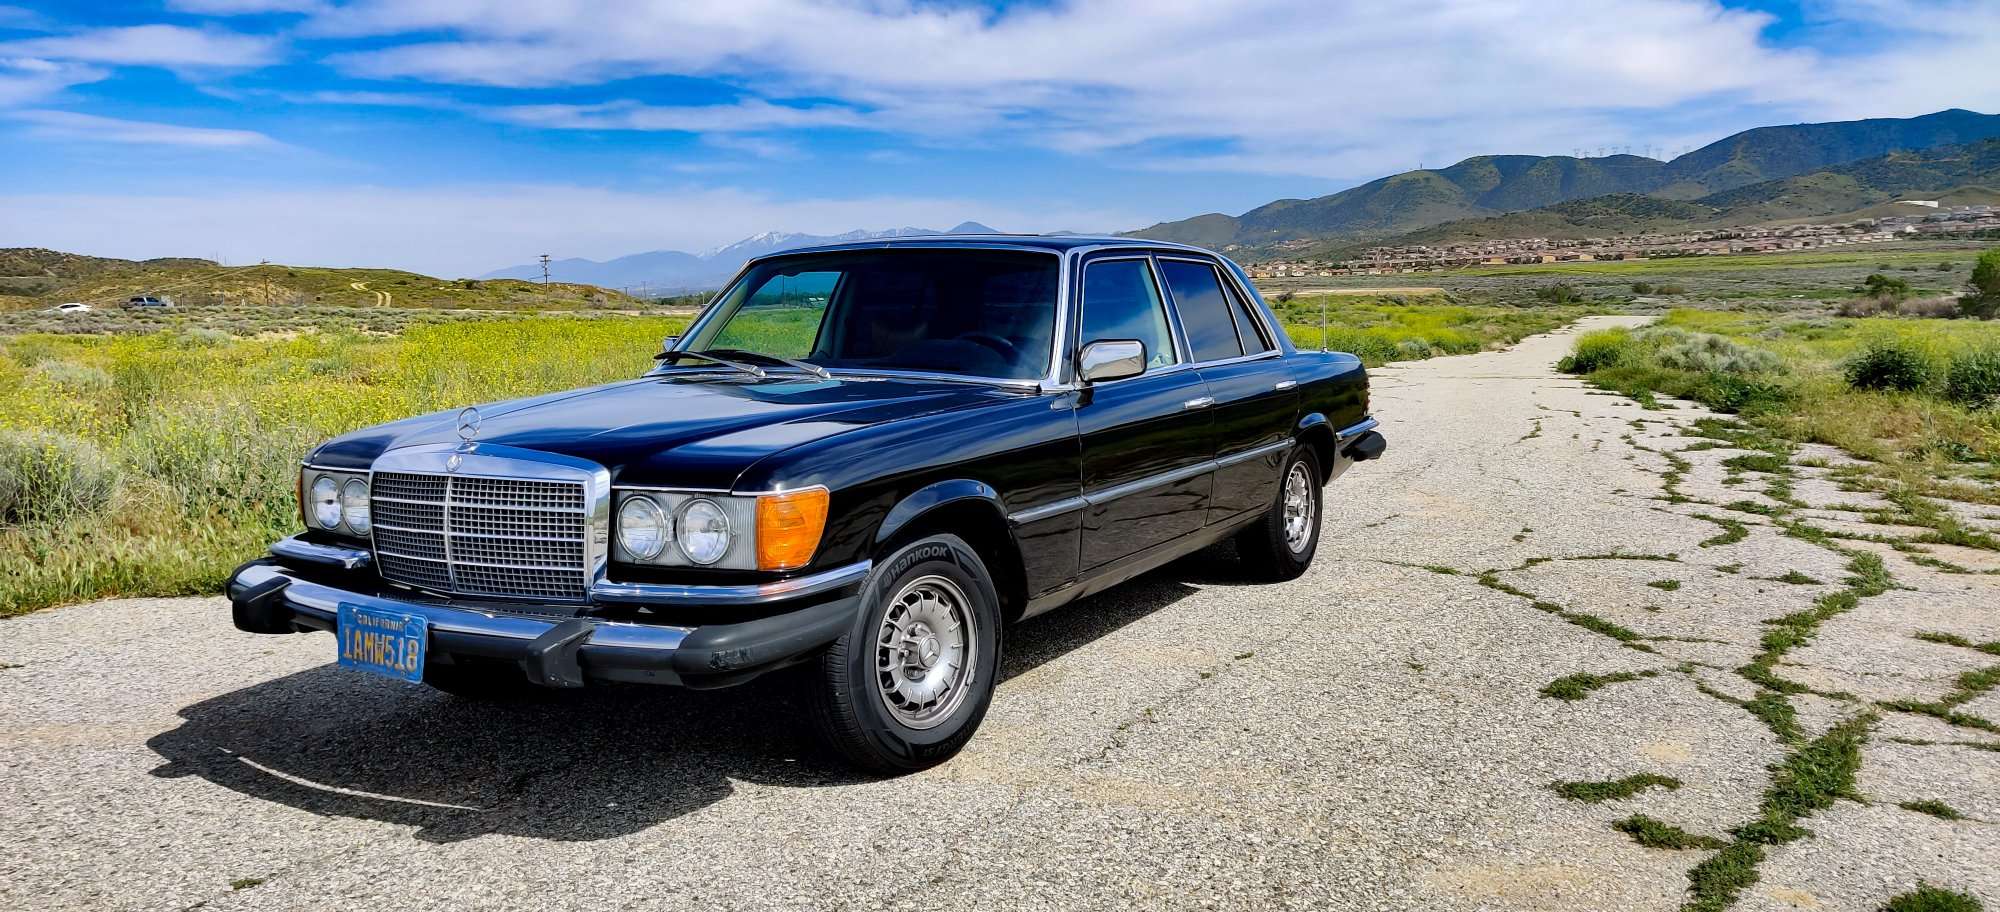
What you see took about an hour and a half. There were some things I couldn’t get perfectly clean, like a stained rear floor mat, but all in all I’m happy with how it turned out. My roommate was very thankful. I rinsed off my mitt, threw my towels in the wash, and put away my vacuum with the knowledge that her little Kia hadn’t looked that nice in years. No matter how much the car cost when new, no matter the shape it’s in, everything from daily beaters to show cars can benefit from a little love. If I can make the Kia look this good, you can certainly get your beautiful classic Mercedes ready for show time. You don’t need to be an expert, just be willing to get the right products and use them in the right way.
Below you can see the types of results you can expect by following these instructions. Each of these were done by Matthew, our Lead Sales Agent at MBZ Parts, whose tips above helped me with my first successful detailing job.